Reduce Latency for Live Interview Transcription on Desktop
Reduce latency for live interview transcription on desktop by tuning mic capture, streaming settings, network use, and end-to-end tests.
When interview captions trail the speaker, even a short pause can make them hard to use. To reduce latency for live interview transcription on desktop, measure the full delay first, then tune your mic, stream, and network in that order.
Table of Contents
- Step 1: Measure the Full Transcription Delay
- Step 2: Improve Desktop Audio Capture
- Step 3: Tune Streaming and Transcription Settings
- Step 4: Reduce Network and Desktop Bottlenecks
- Step 5: Test the Workflow Before an Interview
- FAQ
- Conclusion
Step 1: Measure the Full Transcription Delay
Start by finding out where the delay occurs. A transcript can wait at several points: audio capture, buffering, upload, speech recognition, and display. If you only time the speech model, you’ll miss delays caused by the desktop or network.
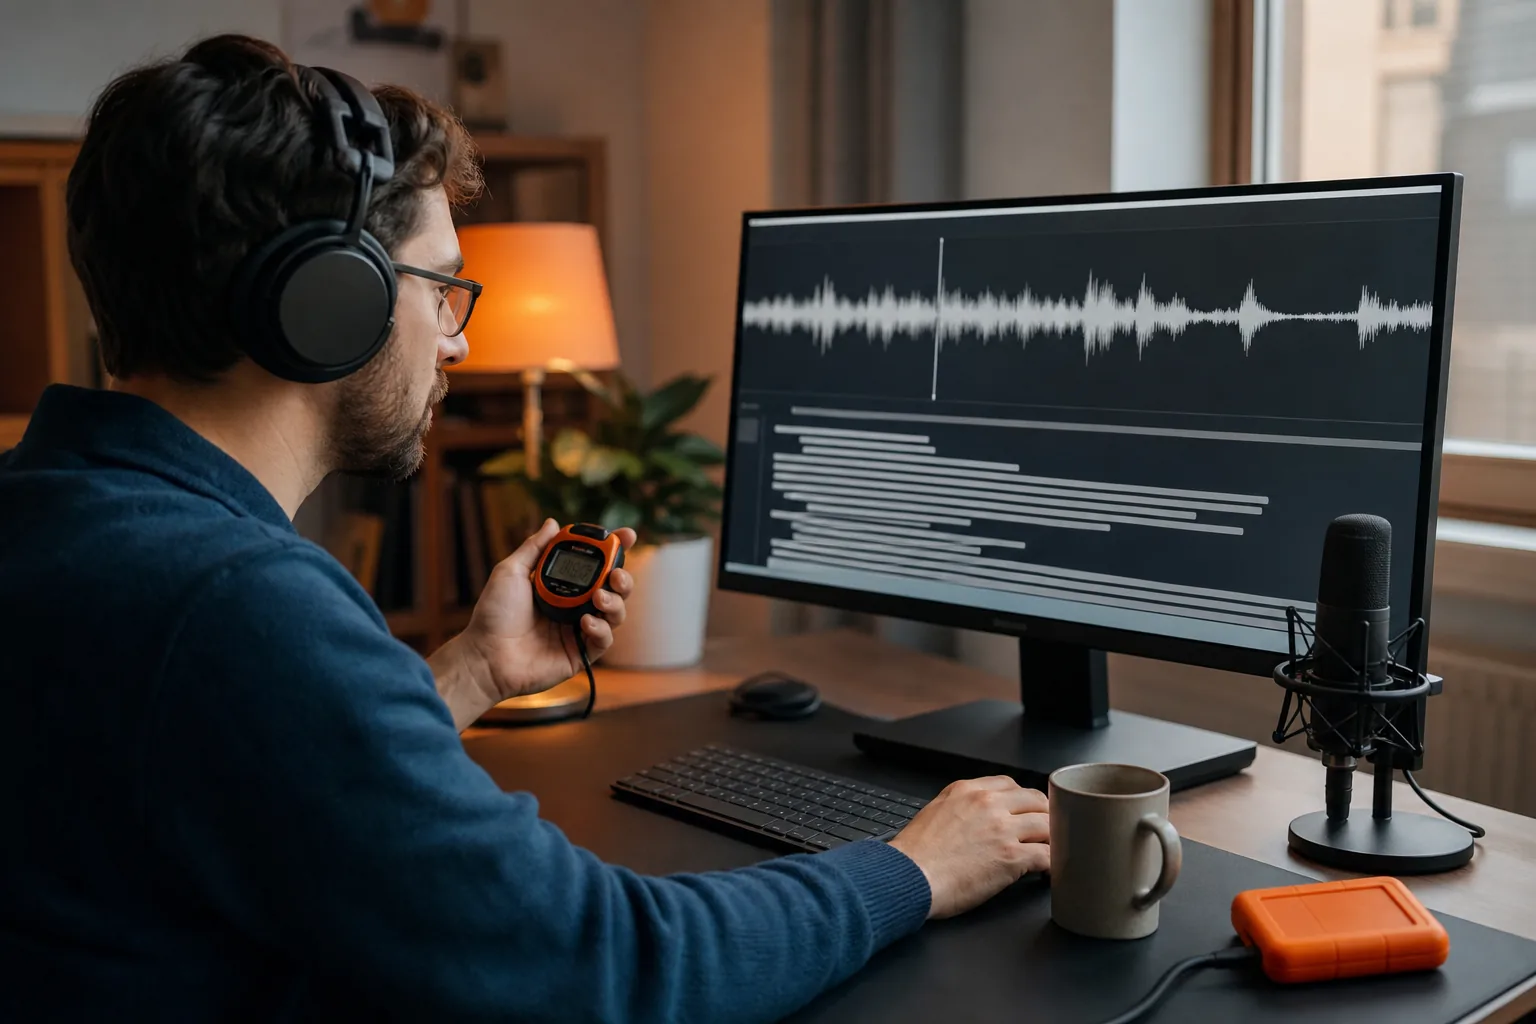
Use a short test with a spoken phrase and a visible timer. For example, say, “The queue should hold the next job,” while a stopwatch is running. Note when you finish speaking, then note when the last word appears in the transcript. Repeat the same phrase several times, and write down each result.
Measure two things separately. First, time from the start of speech to the first words on screen. Then time from the end of the phrase to the completed transcript. The first shows how soon you can follow along. The second catches systems that display partial text quickly but take longer to settle on the full sentence.
Test with the same call app, microphone, and network you expect to use. Try a quiet room first, then speak at your normal pace. If you’re preparing for a coding round, include terms such as “hash map” or “binary search.” A clean test sentence won’t reveal whether the tool handles your interview vocabulary.
Repeat the check after each change. Change one setting at a time, so you can tell whether the result improved or got worse. Keep a simple log with the capture device, connection type, and delay readings.
By now, you should have a baseline and a clear idea of whether the lag starts before or after audio reaches the transcription service.
Step 2: Improve Desktop Audio Capture
Give the transcription app a clean, steady audio signal. A laptop microphone can pick up fan noise, keyboard taps, and room echo. Move closer to the mic or use a wired headset or USB microphone, then check that the operating system selected the right input.
Close apps that may be listening to the microphone. Then open the sound settings and confirm the input meter moves when you speak. If you see more than one mic, name or select the one you intend to use. A transcription tool can’t process audio it never receives, and an input set too low may sound like silence between words.
Keep the capture format consistent with the service’s requirements. Many desktop call setups use 48 kHz audio, while some speech services accept or request a different rate. Don’t resample repeatedly between the device, browser, and transcription client. Each conversion can add work, and mismatched settings may cause trouble. Follow the service’s input format rather than assuming a higher sample rate will make recognition faster.
Buffer size is a tradeoff. A smaller buffer can lower capture delay, but it may cause crackles if the computer can’t keep up. Reduce it in small steps, then listen to a recording or test call. If the sound breaks up, return to the last stable setting. For more control on Windows, a dedicated audio interface with its vendor’s driver may help. On macOS, check that the selected input and output devices match your intended setup.
An audio context latency hint may be treated as a preference rather than a strict setting. That’s why a setting alone isn’t proof of lower end-to-end delay. Verify the result with the same timed phrase.
By now, you should have one chosen input device and a stable format that doesn’t add avoidable conversions.
Step 3: Tune Streaming and Transcription Settings
Choose a service that processes audio as it arrives, not only after you upload a full recording. A live interview needs partial text while the speaker is still talking. Check whether the service supports streaming audio and whether your desktop app or integration actually uses that mode.
For an API, ask how it handles partial results, endpoint detection, and final text. Endpoint detection is the system’s guess that a person has finished a phrase. If it waits too long for silence, the final wording arrives late. If it cuts off too soon, words may be split or revised. Test at your normal speaking pace, including short pauses between thoughts.
A persistent connection can stay open while audio and transcript updates pass back and forth. It doesn’t guarantee low latency by itself: the model, server location, buffering, and internet path still affect the result. Use it when the service supports it and your app can send small audio chunks without waiting for a full file.
Balance speed with transcript quality. A fast partial transcript may change as more audio arrives. For a technical interview, test whether the system settles on terms such as “mutex,” “heap,” or “eventual consistency.” If recognition keeps correcting key terms, try a more accurate model or vocabulary option, then check the added delay. The useful setting is the fastest one that preserves the words you need.
Latency figures need context. Phantom Code AI lists 124 ms transcription, but your own desktop, mic, and network will shape what you see. It offers Fast Think for time-sensitive DSA questions and Deep Think for problems where reasoning depth matters more than speed. For your own setup, time the complete path instead of assuming a model figure equals what you’ll see on screen.
The low-latency interview assistant feature checklist can help you compare streaming behavior with other needs, such as transcript quality and reports. Phantom Code AI runs on macOS and Windows, and new accounts get free credits at signup with no card required. Try it in a mock interview first, where you can observe timing without the pressure of a live round.
By now, you should know which settings affect partial text, final text, and word accuracy. Keep a saved baseline before you test a different model or stream mode.
Step 4: Reduce Network and Desktop Bottlenecks
A fast transcription model can still feel slow if audio takes a long route to its server. If possible, use a wired network connection for practice. If you rely on Wi-Fi, sit near the router and pause large downloads or cloud backups during the test. Video calls and screen sharing also use network capacity, so test with them running if that’s how you’ll interview.
Look for jitter and packet loss, not only download speed. Jitter means delay changes from one packet to the next. A connection can have ample bandwidth and still send audio unevenly. Run a network check during the time of day you plan to practice, then compare the transcript delay with your wired or Wi-Fi setup.
Server distance matters, but a nearby region won’t fix every bottleneck. Ask whether the transcription service has an endpoint close to your location and whether your integration can use it. A CDN can help deliver static files, but caching isn’t a way to speed up a live audio stream. For live speech, focus on the route between your desktop and the service that processes the audio.
Check the desktop too. Restart before an important practice session if many apps have been open for days. Pause large sync jobs and close processes that are using the CPU heavily. If transcript updates arrive in bursts while other apps freeze, the desktop may be busy even when the network looks fine.
For local models, a GPU can help with processing, but it’s not a universal shortcut. A local model avoids sending audio to a remote server, yet it still depends on your machine’s speed and setup. Whisper Large-v3-turbo reports GPU support. Compare it with a cloud stream under the same conditions.
One more check: make sure your interview app and transcription app are capturing the intended audio source. An app listening to the wrong device can appear to have a processing problem when it’s actually receiving poor or incomplete audio.
By now, you should have a repeatable connection and desktop setup. Keep the fallback simple: know how you’ll switch to a wired headset or another network if the test goes poorly.
Step 5: Test the Workflow Before an Interview
Run a full rehearsal, not just a microphone check. Start the meeting app you plan to use. Open the transcription tool and the code editor or notes window you’ll need. Use the same mic, network, and computer setup you expect on the day.
Practice three kinds of speech. First, give a short behavioral answer with a few names or dates. Next, explain a coding approach aloud and use terms such as “time complexity” or “edge case.” Then describe a system design choice, such as why you’d add a queue between two services. These examples show whether the transcript can handle different word patterns, not just one memorized line.
Watch the delay and note errors. Does text appear while you’re speaking? Does the transcript recover after a pause? Do partial results change in a way that hides the key point? If a tool caps live sessions or interrupts a long run, that can break a full rehearsal even if its first few minutes look quick. Test for the length you actually need.
Change one setting after the first run. For example, switch from Bluetooth to a wired mic, then repeat the same test. Don’t also change the model and network at the same time. A controlled test makes the cause of any improvement easier to spot.
Phantom Code AI is designed for interview preparation across coding, system design, and behavioral rounds. Use it in a mock session to see how transcription and guidance fit your own pace. If you may use AI support in an actual interview, first check the employer’s rules and use it only where allowed.
Keep a small run sheet with the test date, input device, network type, and observed delay. It needn’t be fancy. A few notes are enough to spot when a driver update or a change in location makes the setup worse.
By now, you should have a setup you’ve rehearsed and a fallback you know how to use.
FAQ
What causes live transcription to lag?
Live transcription lag usually comes from several small delays added together. Audio may wait in a desktop buffer, travel over a busy network, or sit until a service has enough speech to process. The app can also take time to display results. Time the full path from speech to text before changing settings, so you target the source of the delay.
Does a local transcription model always reduce latency?
No, a local model doesn’t always reduce latency. It removes the network trip to a cloud service, but the model still has to run on your computer. A slow CPU, setup issue, or heavy workload can make local processing slower than a cloud service. Compare both approaches on the same desktop with the same spoken test.
Should I use Bluetooth headphones for live transcription?
You can test Bluetooth headphones, but compare them with a wired mic or headset if you notice lag. Bluetooth can add audio delay, and its mic may capture speech differently from a dedicated input. Keep the rest of the setup unchanged during the comparison. Use the option that stays clear and responsive in a full practice call.
How do I measure transcription latency at home?
Say a short phrase while a timer runs, then note when the first words appear and when the final transcript settles. Repeat the phrase several times using your usual mic and network. Test with real interview terms too. Record the setup and results, then change one setting at a time to see what affects the delay.
Conclusion
Measure the whole audio-to-text path before tuning individual settings. Start with a stable wired mic and connection, then test streaming options and transcript quality in a mock interview. Your next step is simple: run the same short test on your actual desktop and save the result as your baseline.