How to Use Session Recordings to Improve Interview Answers
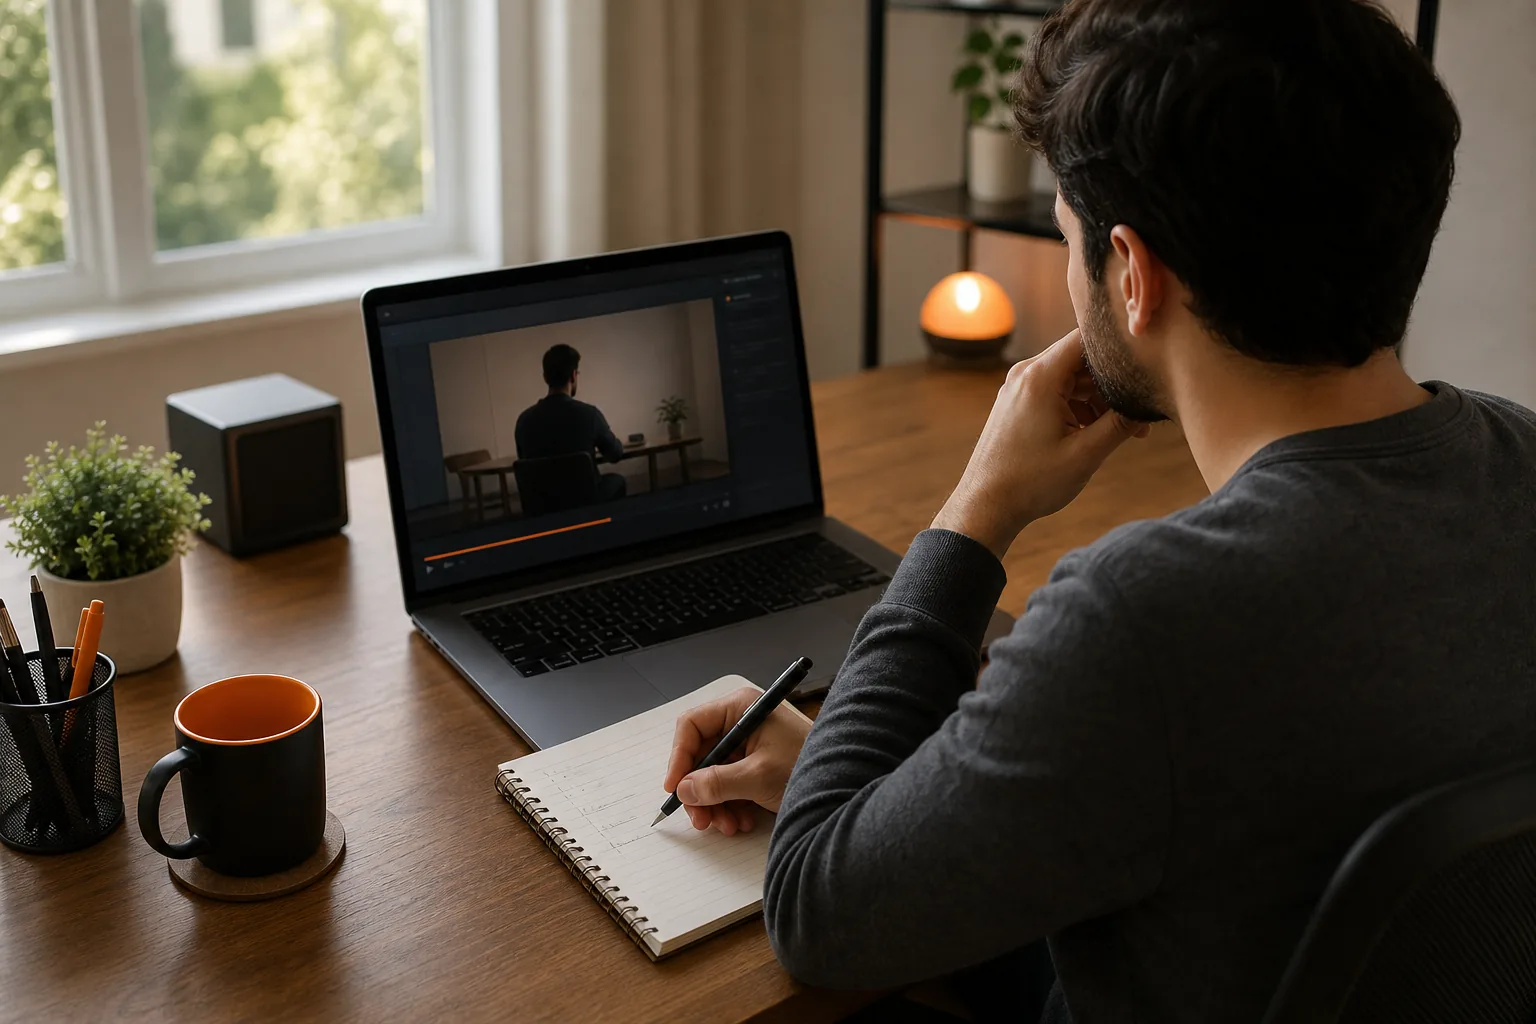
Learn how to use interview session recordings to spot weak answers, review technical and behavioral responses, and practice clearer delivery.
Learning how to use session recordings to improve interview answers starts with one rule: record to learn, not to judge yourself. A short mock interview can reveal where your explanation gets fuzzy, your reasoning goes quiet, or your strongest point arrives too late. Use the steps below to turn each replay into one focused practice goal.
We analyzed 34 comments and questions from YouTube, Quora and Reddit about session recordings to improve interview answers and found that 26% mentioned aversion to video interviews.
Table of Contents
- Step 1: Record a Mock Interview With a Specific Goal
- Step 2: Review the Recording and Mark Key Moments
- Step 3: Diagnose What Made Each Answer Strong or Weak
- Step 4: Rewrite Answers Into Clearer, More Complete Responses
- Step 5: Rehearse Again and Compare the New Recording
- FAQ
- Conclusion
Step 1: Record a Mock Interview With a Specific Goal
Goal: Capture a session that lets you assess one skill, rather than trying to fix everything at once.
Choose a question or task that matches the role you want. For a coding interview, try a data structures and algorithms problem. For system design, explain a service that needs to handle growing traffic. For a behavioral round, answer a question about a hard trade-off you made at work.
Set one goal before you press record. You might want to explain your reasoning out loud, give a shorter project summary, or state the result of a behavioral story sooner. A narrow goal makes review easier because you know what to listen for.
Set up the room and gear before the mock begins. Put the microphone close enough to pick up your voice without clipping. Turn off alerts, close apps you won’t use, and check that your code editor or diagram is readable in the frame. Record a 10-second test, then play it back. Listen for low volume, room noise, or a fan that masks your words.
You can record on a laptop or phone. A phone can work for spoken answers if it stays steady and captures clear audio. For a coding session, make sure the recording shows your reasoning and the relevant code without a large webcam view blocking the work.
If you practice with a partner, agree on what the recording will capture and who can view it. Don’t record a real interview unless the interviewer and the platform’s rules allow it. Check the rules that apply where you live before recording; in the United States, you can review the U.S. federal recording rules.
Phantom Code AI can be part of the mock phase: its desktop assistant listens, transcribes, recognizes problem types, and gives real-time guidance during mock interviews. Treat any guidance as input to review, not a substitute for explaining your own reasoning aloud.
Milestone: You should have one recording, a clear practice goal, and audio you can understand without straining.
Step 2: Review the Recording and Mark Key Moments
Goal: Find the moments that show how your answer works, before deciding what to change.
Start with one uninterrupted listen or watch. Don’t pause to correct yourself yet. Note the question, the point where you began answering, and where you finished. Then mark timestamps for moments that deserve a closer look: a long silence, an unclear claim, a strong explanation, or a point where you lost your thread.
Use a simple tag system. For example, mark a moment as clear, unclear, or check. “Check” means you need to confirm a technical detail or see whether your answer actually addressed the prompt. You can add a short note beside each time mark, such as “complexity claim” or “result missing.” A highlight reel can help when you share feedback, but keep the full recording so context isn’t lost.
Review the sound separately from the picture. On audio, listen for filler words, rushed sections, and pauses that happen before you explain what you’re thinking. On video, watch your posture and where your attention goes. Don’t treat every movement as a problem. Ask whether it makes your answer harder to follow or pulls attention away from the code or diagram.
If you use a transcript or AI note tool, check its text against the recording before acting on it. Technical terms, names, and code-related words can be transcribed incorrectly. Fix those errors first. A transcript helps you search for a phrase or find a gap, but it can’t tell you whether your explanation made sense.
To keep the replay useful, make notes about what happened rather than judging yourself. Write “I didn’t explain why I chose a hash map” instead of “I’m bad at interviews.” That shift points to a fix you can practice.
Milestone: You should have a short list of timestamps, with each mark tied to a clear observation.
Step 3: Diagnose What Made Each Answer Strong or Weak
Goal: Find the cause behind an answer that felt clear or fell short.
Review your marked moments in three passes. In the first pass, judge the content. Did you answer the question directly? For a coding problem, did you clarify the input and constraints before choosing an approach? Did you explain why the time and space complexity fit? For system design, did you name the main requirements before drawing components?
In the second pass, review delivery. Listen for places where the answer wanders or where silence leaves the interviewer unsure what you’re considering. A pause can be useful if you explain it: “I’m checking whether this needs to support writes across regions.” Without that short signpost, the same pause may sound like you’ve stopped working.
For behavioral answers, check whether the story shows your own decisions. A listener should be able to tell what the situation was, what you owned, what you did, and what changed. If you say “we improved reliability” without explaining your part, the answer may sound vague even if the work was strong.
In the third pass, compare the answer with your goal and choose the main cause of any weak spot. Maybe the example doesn’t fit the question. Maybe the reasoning is right, but you bury the conclusion. Or perhaps you made a claim you can’t support. Name the cause in a short note; don’t write a broad label like “communicate better.”
A transcript can make these patterns easier to spot. During transcript review, mark filler, long pauses, claims to verify, and recovery moments before choosing a practice drill. Use that approach to identify a repeated habit, not to score every word.
Keep a small scorecard for each mock. Rate the answer on whether it addressed the prompt, whether the reasoning was easy to follow, and whether the result or conclusion was clear. Use the same criteria next time. A dashboard or simple spreadsheet can track those scores across sessions, but the notes beside the score matter more than a line that moves up or down.
Milestone: You should know what caused one weak answer and be able to describe one strength worth keeping.
Step 4: Rewrite Answers Into Clearer, More Complete Responses
Goal: Build a better answer shape without memorizing a script.
Use your notes to make a short outline, not a word-for-word speech. For a technical response, try this order: restate the problem, clarify an assumption, explain the approach, then test an edge case. For system design, begin with the user need and key constraints. Then walk through the parts of the design that answer them.
For behavioral questions, sketch the main beats of your story. Give just enough context to set up the challenge. State your role. Spend most of the answer on the choices you made and why. End with the result or lesson. If the result has a useful measure from your real work, include it; never add a number you can’t support.
Make the first sentence do useful work. Instead of circling the question with background, give a short answer or conclusion, then explain it. For example, if asked how you’d find a duplicate in a list, you might first name the hash set approach. Then explain what you’d store and how you’d handle the trade-off in space.
Keep the outline light. Use a few cue words to help you recall the answer’s path. If you write full paragraphs, you may end up reading or reciting them. The goal is to answer the question in your own words while keeping the important pieces in view.
Practice one repair at a time. If the answer wandered, work on the opening. If you left out your role, add that detail. If the technical explanation lacked a check, include a quick example or edge case. Changing several habits at once makes it harder to tell which adjustment helped.

Keep the original answer beside the revised outline. That lets you see what changed without judging your whole performance. For behavioral practice, cue cards can hold a story title and a few reminders, such as the decision you made or the outcome you can explain.
Milestone: You should have a short answer outline and one specific change to test in the next take.
Step 5: Rehearse Again and Compare the New Recording
Goal: Check whether the change made your answer easier to follow.
Record the same prompt again under similar conditions. Keep the question and time limit steady if you can. That makes the comparison fairer. Don’t aim to sound perfect; listen for the one change you chose. Did you state the approach sooner? Did you name your part in the project? Did you explain a pause instead of leaving the listener to guess?
Compare the two recordings at the timestamps you marked. First, listen to the opening. Then check the part you wanted to improve. Finally, listen to the ending. Note whether the answer reached a clear result or conclusion. If the new take fixes the target but creates a new issue, write that down and decide whether it needs attention now.
Use one variable per practice session. You might focus on concise openings today, then on explaining trade-offs in your next system design mock. In a later behavioral session, work on stating the outcome clearly. If you try to change pace, structure, and body language all at once, you won’t know which change made the answer better.
Keep a simple record with the date, prompt, goal, and one note about the result. A spreadsheet is enough. Look for patterns across several sessions, such as the same missing assumption or a tendency to delay the conclusion. Don’t treat a single score as proof of progress. The useful signal is whether you can repeat the improvement on a different question.
Playback can feel awkward. Start with audio if watching yourself makes it hard to focus. Once you’re comfortable, watch the video with a narrow question in mind, such as whether you look at the code while explaining it. Treat the recording as feedback about a practice attempt, not a verdict about your ability.
Phantom Code AI can support this loop during mock practice with real-time guidance. Afterward, compare your own notes with the answer you gave. The aim is to build a response you can explain independently, not to rely on prompts during an interview where outside assistance is not allowed.
Milestone: You should have a new recording, a clear comparison with the first take, and one next goal. If the change didn’t help, revise the outline and test a different approach.
FAQ
How often should I review an interview practice recording?
Review each recording soon after the session, while you still remember what you were trying to do. One focused review is more useful than repeatedly watching the whole video without a question in mind. Mark a few moments, choose one change, then record another take when you can test that change.
Should I record a real job interview?
Only record a real interview if the interviewer and the platform’s rules allow it. Ask for permission before recording, and accept a no without pressure. Laws can vary by place, and company policies may add limits. A mock interview with a willing partner is a safer way to get a replay.
Is a transcript enough to improve my answers?
No. A transcript helps you find words, pauses, and answer structure, but it can miss tone and visual cues. It may also mishear technical terms. Check key lines against the audio, then watch the relevant video moments if delivery or screen focus matters to your goal.
What should I look for in a coding interview recording?
Check whether you restated the problem and clarified key constraints before coding. Listen for explanations of your approach and complexity. Notice whether you tested an edge case or explained a change in direction. For each weak spot, write down the moment and the missing action, then practice that action in another problem.
How can I tell if my answer improved?
Compare the same prompt or a similar one against the goal you set. Look for evidence that you addressed the question sooner, explained your reasoning more clearly, or finished with a clear result. Track the behavior across more than one session before deciding it has become a reliable habit.
Conclusion
Use recordings as a coaching loop: capture one focused mock, mark the moments that matter, and test one repair in the next take. Start with a question you expect in your next interview, record your answer today, and choose one change to practice.