How to Set Up Mock Interview Audio
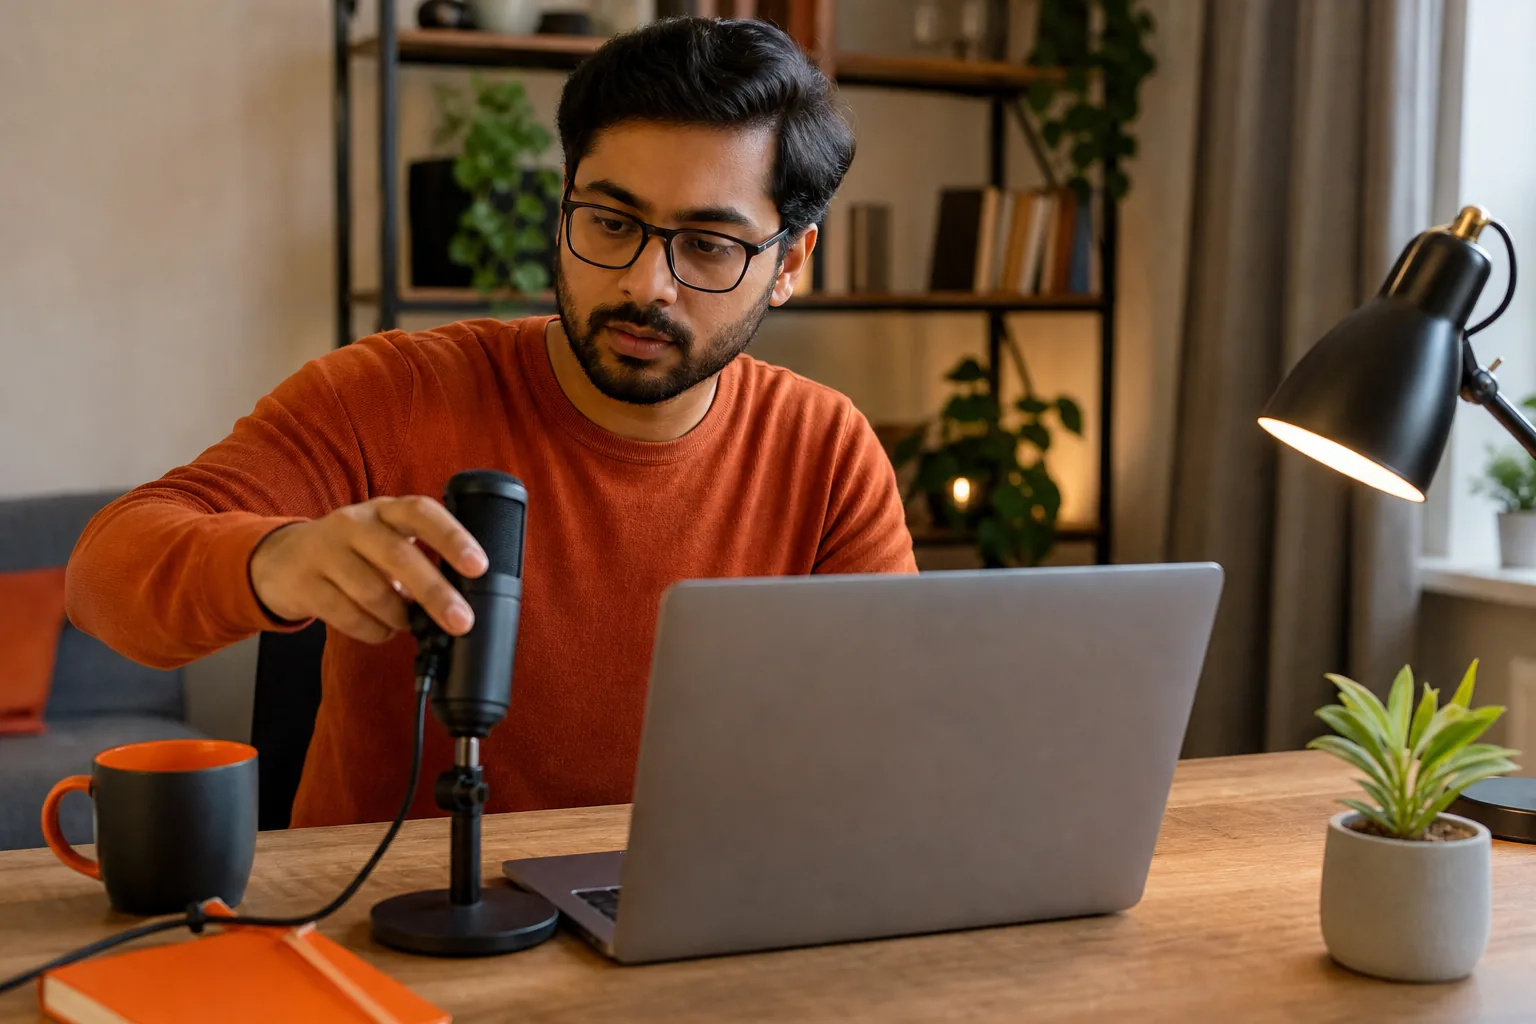
Learn how to set up microphone and audio routing for mock interviews, check permissions, set clean levels, and fix common sound problems.
How to set up a microphone and audio routing for mock interviews comes down to one rule: test the full sound path before you start. Check your computer, choose the right mic, then record a short practice answer and listen back.
These steps cover a basic headset setup and a more advanced interface or mixer. Phantom Code AI can also help during technical interview practice by listening, transcribing, and giving real-time guidance.
We analyzed 5 published guides on virtual interview audio setup and found that 0 of 5 covered mixer gain or fader controls and only 1 of 5 explained routing audio to avoid a feedback loop. Only 1 of 5 also covered microphone input and output selection inside the app.
Table of Contents
- Step 1: Check your computer and app
- Step 2: Set up a quiet room
- Step 3: Select the input and output
- Step 4: Set a clean mic level
- Step 5: Route audio without a loop
- Step 6: Check mixer controls
- Step 7: Run a full practice test
- Step 8: Fix common audio problems
- Frequently asked questions
- Conclusion
Step 1: Check your computer and app
Start on the same computer and in the same room you’ll use for the mock. Check that your operating system and meeting app are supported, then connect your headset or interface before opening the app. If you’ve just installed an audio driver, restart first.
Close other call or recording apps so they don’t compete for the mic. For coding practice, set up the audio before your IDE and interview tools. This coding workspace setup for live mock interviews can help you prepare the coding workspace too.
By now, your computer should recognize the device you plan to use.
Step 2: Set up a quiet room
Choose a room where fans, traffic, and nearby conversations won’t mask your voice. Turn off alerts on your computer and phone. If your keyboard is loud, move the mic closer to your mouth and angle it away from the keys.
Keep the mic in one position while you answer. A headset boom should sit beside your mouth, not directly in front of it. That placement can help reduce sharp bursts of air on words that start with “p” or “b.”
Use the same seat and room for the next sound check. Consistency makes it easier to spot a change in noise or volume.
Step 3: Select the input and output
Choose your microphone and listening device in both the computer’s sound settings and the meeting app. The app may keep an older choice even after you plug in a new headset, so check its audio menu directly.
Allow microphone access when the browser or operating system asks. If you denied it earlier, change the permission in your system or browser settings, then reopen the app. Speak a few words and watch for the input meter to move.
By now, the app should show the intended mic as its input and your headphones as its output.
Step 4: Set a clean mic level
Record a short sample at the volume you’ll use in the mock. Listen for a voice that is easy to hear without crackle or harsh peaks. If the sound is weak, move the mic closer or raise the input level a little. If loud words distort, lower the level.
For an audio interface, connect the mic to a microphone input, not an instrument or line input. If your mic needs phantom power, turn it on at the interface. Keep an eye on its meter or your recording app’s meter, and avoid the red zone.
A good level is one you can leave alone while explaining a coding decision.
Step 5: Route audio without a loop
For most mock interviews, select one mic input and one headphone output. Add a mixer or virtual audio route only if you need separate sources, such as a mic and computer playback. In that case, send only the audio the meeting needs.
A loop happens when call audio goes back into the same call as mic input. The other person may hear their own voice with a delay. Use headphones, then check the mixer’s routing panel for a mix-minus option or remove the call-return channel from the outgoing mix.
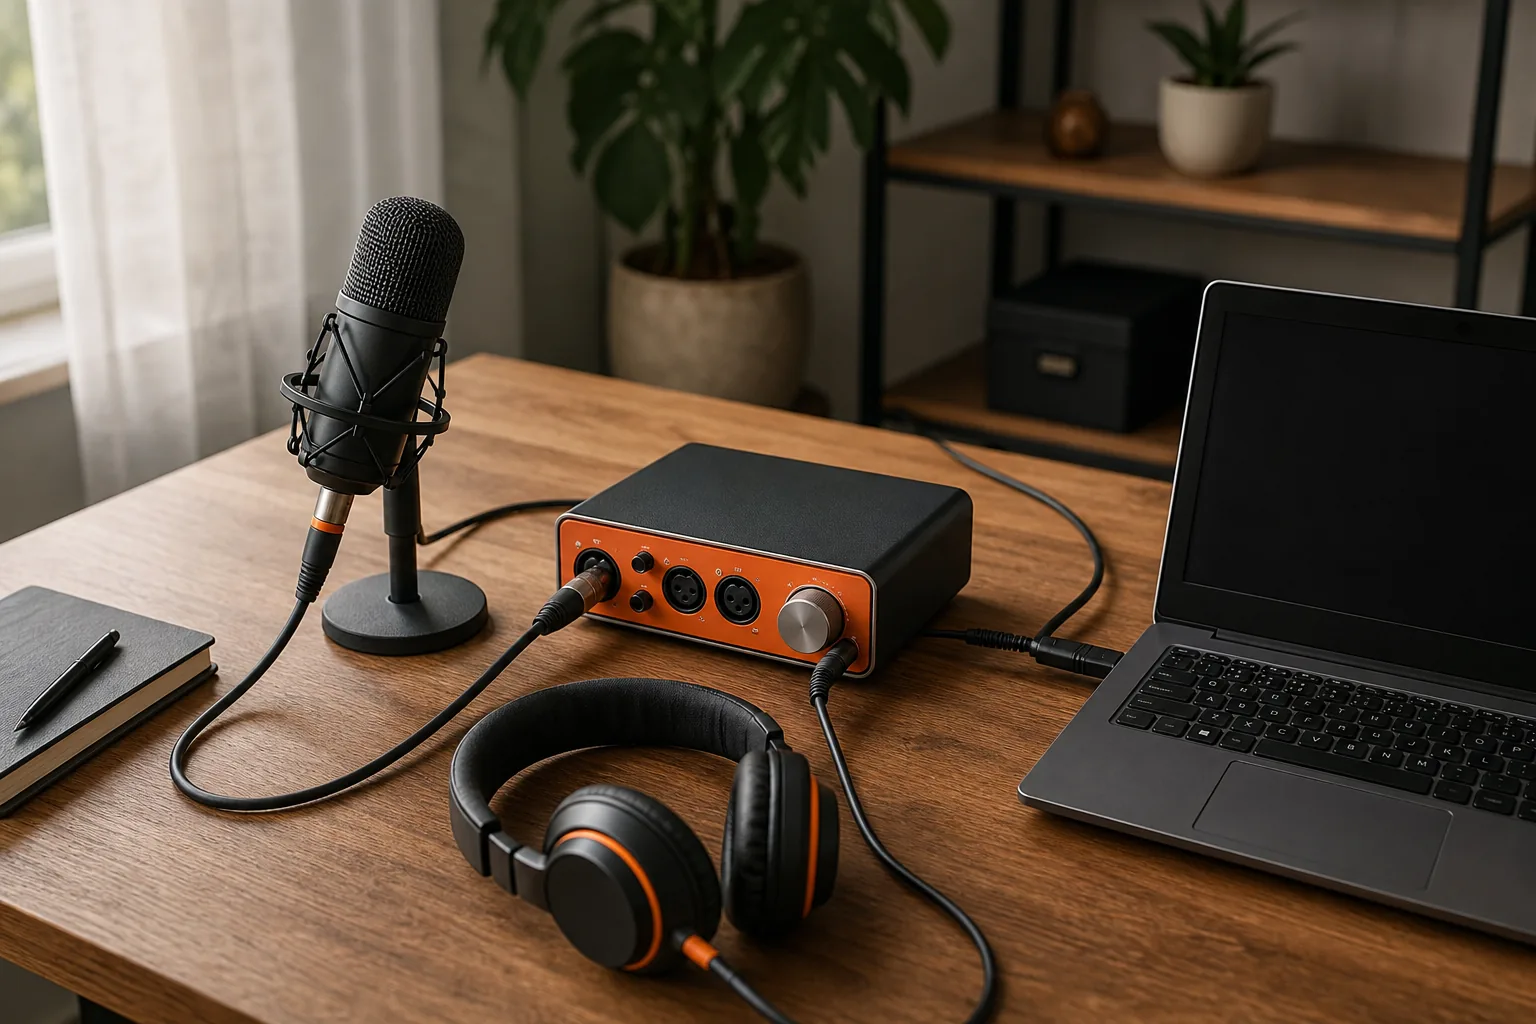
For a basic computer-to-interface workflow, an audio interface converts sound between a mic and computer apps. Keep the route simple unless your practice needs a separate monitor mix.
Step 6: Check mixer controls
If you use a mixer, trace the mic from its input channel to the output selected by your meeting app. Raise the channel gain until speech registers clearly, then use the channel fader for its level in the mix. Keep the master output at a steady level.
Pan usually matters less for a single spoken mic than for a stereo music source. Leave the voice centered unless your routing needs say otherwise. Don’t add reverb for an interview. A dry, clear voice is easier to follow.
If the mixer has a headphone or monitor output, use it to listen before the call. Check that you hear your voice without an echo.
Step 7: Run a full practice test
Open the same meeting app you’ll use for the mock. Record yourself answering a coding prompt for a minute or two, then play it back. Listen for clipped words, room noise, keyboard taps, and any delay in your headphones.
Try the whole workflow once: join the call, speak, share your screen if needed, and confirm the mic still works. Phantom Code AI can support mock technical interview practice with live listening and transcription, so test it alongside the meeting setup you plan to use.
By now, you should know what your voice sounds like to someone on the other end.
Step 8: Fix common audio problems
If the meter stays still, check the app’s mic choice and permissions first. If the device is missing, reconnect it and check for an available driver update. Close other apps that might be using the mic, then reopen the meeting app.
If you hear feedback, switch to headphones and lower speaker volume. For crackling or dropouts, check cable connections and close apps using heavy system resources. If the sound is delayed, remove duplicate audio routes and test again.
Keep a wired headset nearby as a fallback. Change one setting at a time so you can tell which fix worked.
Frequently asked questions
Should I use a headset or a separate microphone for a mock interview?
Use the setup that gives you a clear recording in your room. A headset mic stays close to your mouth, which can help when the room has fan or keyboard noise. A separate mic can work well too, but test its placement and level before the call. Listen to a sample instead of judging by the meter alone.
Why can’t my meeting app hear my microphone?
The app may be using the wrong input or lack permission to access the mic. Choose the intended device in both your computer settings and the meeting app. Then check browser or system permissions. If you changed permission while the app was open, close and reopen it before testing again.
What is mix-minus, and do I need it?
Mix-minus is an outgoing audio mix that leaves out the audio returning from the call. It helps prevent a caller from hearing their own voice with a delay. You usually don’t need it for a simple headset setup. It matters when a mixer or custom route sends call audio back into the call.
How can I tell if my microphone level is too high?
Your level may be too high if loud words sound rough, crackly, or distorted. Lower the input gain and record another short sample. If your voice is hard to hear, move the mic closer or raise the input level slightly. Check the playback, since a moving meter alone can’t tell you whether speech sounds clear.
Conclusion
Keep the route simple, use headphones, and test a recording before each mock. Set up your equipment now, then run one complete practice call with the same app and mic you’ll use for interview prep.