How to Set Up a Desktop Overlay for Live Coding Interviews
Set up a desktop overlay for live coding interview practice with clear permissions, tested audio, a clean IDE layout, and a fallback plan.
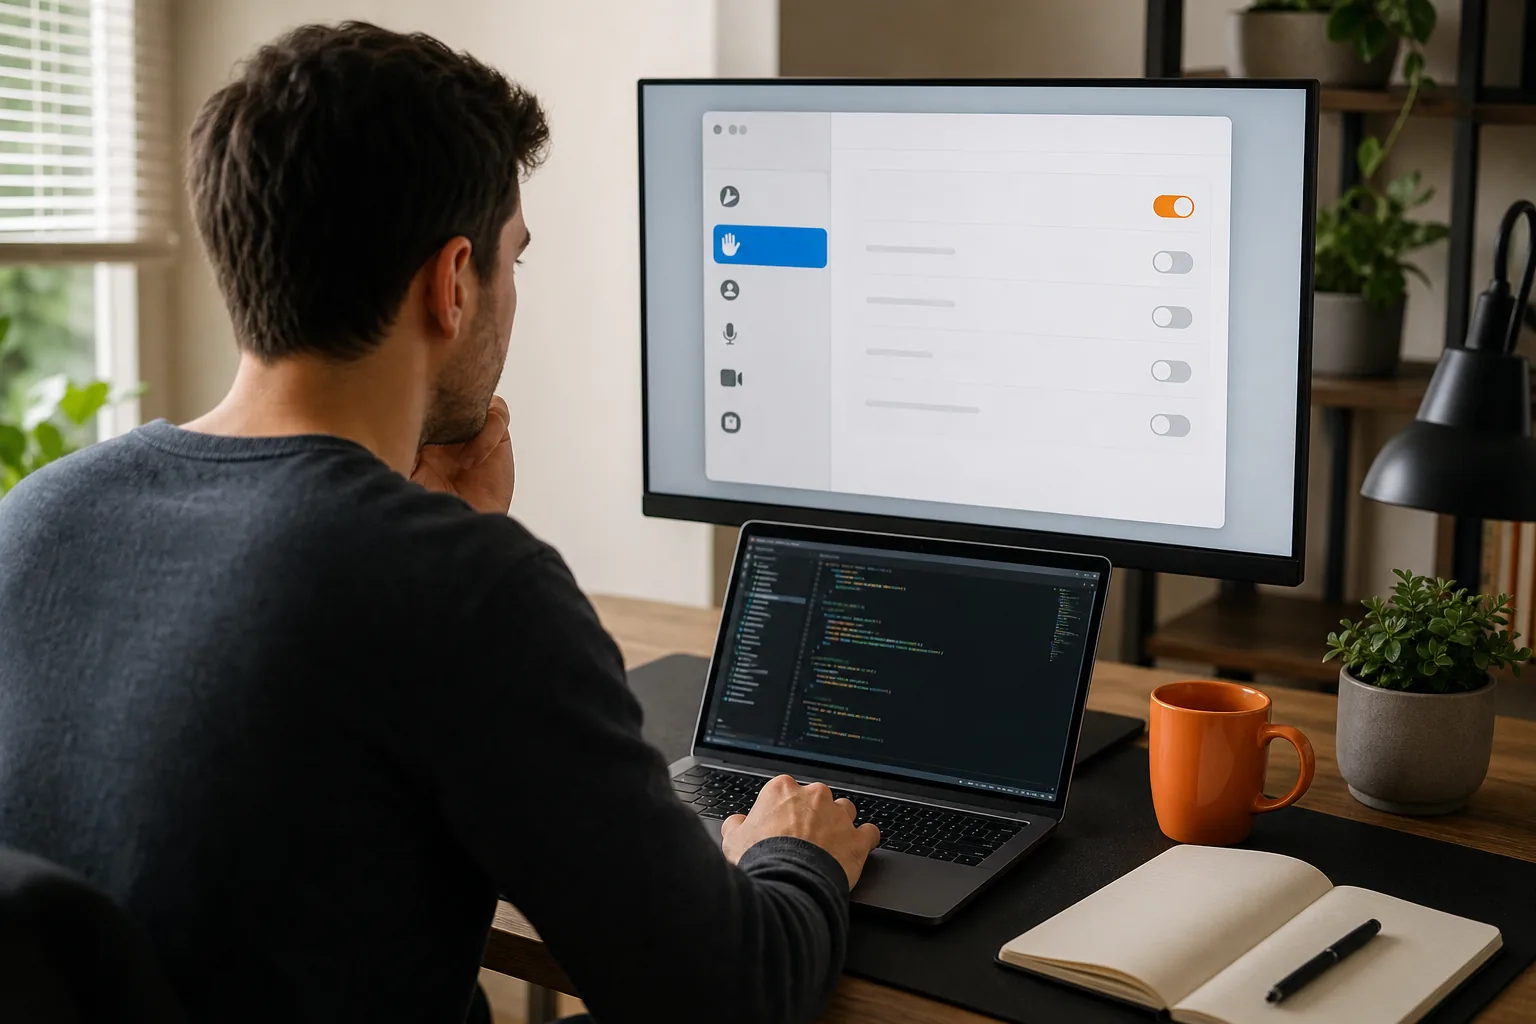
A desktop overlay can keep practice notes close while you work through a coding problem. How to set up a desktop overlay for live coding interviews starts with one rule: use it only when the interviewer or assessment rules allow it. Then test permissions, audio, placement, and recovery before the session.
We analyzed 36 comments and questions from YouTube and Quora about desktop overlays for live coding Interviews and found that 28% mentioned the privacy of screen sharing.
Table of Contents
- Step 1: Confirm the Interview Rules and Your Use Case
- Step 2: Install the Overlay and Set Essential Permissions
- Step 3: Configure Audio and Test the Coding Context
- Step 4: Arrange the Overlay Beside Your IDE
- Step 5: Run a Full Mock Interview and Prepare a Fallback
- FAQ
- Conclusion
Step 1: Confirm the Interview Rules and Your Use Case
First, find out whether an overlay is allowed. Ask the recruiter or interview coordinator if the instructions don't say. Keep the answer in writing, and follow any rules from the company or assessment platform. If permission is unclear, use the overlay for mock practice only.
This distinction matters because an overlay can contain anything from a timer to AI-generated help. A timer or your own notes may be fine in a practice session, while outside help during a scored test may break the rules. Don't rely on a tool's “hidden” or “undetectable” label as proof that its use is approved.
Next, name the task the overlay should support. For a DSA mock, you might want a timer and a short list of topics to review. For system design practice, you may want a prompt checklist that reminds you to ask about scale and failure cases. For a behavioral mock, notes can hold story cues, but you should still answer in your own words.
Phantom Code AI is built for coding, system design, and behavioral interview support. Use it in a mock or other setting where the rules permit assistance, and decide in advance what help you want it to provide. A clear use case makes the setup easier to test.
Make a short checklist before installing anything:
- Which interview or mock format will you use?
- What help is permitted?
- Which meeting app and coding environment will be open?
- Will you share a window or the full display?
If you're building a practice routine, the guide to simulating pair programming interviews can help you plan a timed session with clear roles and feedback.
Step 2: Install the Overlay and Set Essential Permissions
Install the desktop app from its official source, then check its supported operating system before you begin. Phantom Code AI runs on macOS and Windows. Whatever tool you choose, follow its own setup steps rather than granting permissions based on a guess.
Open the app's permission settings and review what it requests. Audio input may be needed for spoken mock practice. Screen access may be needed when you want the tool to read a coding prompt. Grant only the access needed for your chosen task, and check your operating system's privacy settings if a prompt doesn't appear.
On macOS, review the privacy controls for screen and microphone access. On Windows, check the privacy settings for microphone access and any screen-capture permission the app requests. Labels can differ by operating-system version. Close and reopen the app if a permission change doesn't take effect.
Then set a shortcut that you can remember without looking down. Pick a key combination that doesn't overlap with common editor actions or the meeting app's mute control. Test it in a mock session. If you use the same shortcut for a coding command, change one of them now.
Don't treat a hidden window as a privacy setting. A full-display share can show more than the app window you mean to present, and capture behavior can change with operating-system or meeting-app updates. Test the exact sharing mode you plan to use, and never assume that a tool's overlay stays private.
When choosing an overlay, check transcription quality and platform fit. Keep the decision tied to your permitted workflow, not a promise of invisibility.
By now, the app should open, the needed permissions should work, and your shortcut should be easy to recall. If the tool asks for access that doesn't fit your practice task, pause and check its documentation before proceeding.
Step 3: Configure Audio and Test the Coding Context
Audio errors can make a mock feel broken even when the overlay opens. Choose the microphone you plan to use, then record a short test and listen back. Check that your voice is clear and that keyboard noise doesn't drown it out. If the tool uses spoken prompts, confirm that it hears the interviewer or practice partner as expected.
Browser-based audio capture may ask for permission before it can use a microphone. Check the browser's microphone access documentation and site permissions before changing your hardware.
Test the coding context next. Open a sample problem in the same environment you expect to use, such as a shared editor or coding platform. Read the prompt aloud or use the tool's approved capture method. Then compare the captured constraints with the original text. Check input size, duplicates, and any special output rule.
A correct prompt capture is only the start. Ask for a hint about an approach, then see whether it reflects the key constraint. For example, with a sorted array, does the guidance account for that order? If you get a generic response, adjust how you share the prompt or enter its details. Don't paste suggested code into an interview without understanding it.
Browser-based mocks and desktop apps can handle device audio differently. Use the app's own permission and setup steps when troubleshooting.
For the final audio check, switch to your backup microphone or headset once. Then switch back. This catches a common setup snag: the app may keep listening to a device you stopped using.
Step 4: Arrange the Overlay Beside Your IDE
Set up the layout for the screen you will actually use. Open the meeting app and coding environment first. Place your permitted notes or overlay where you can read them without covering the prompt, code, or test output. Keep the interviewer visible enough that you can follow the conversation.
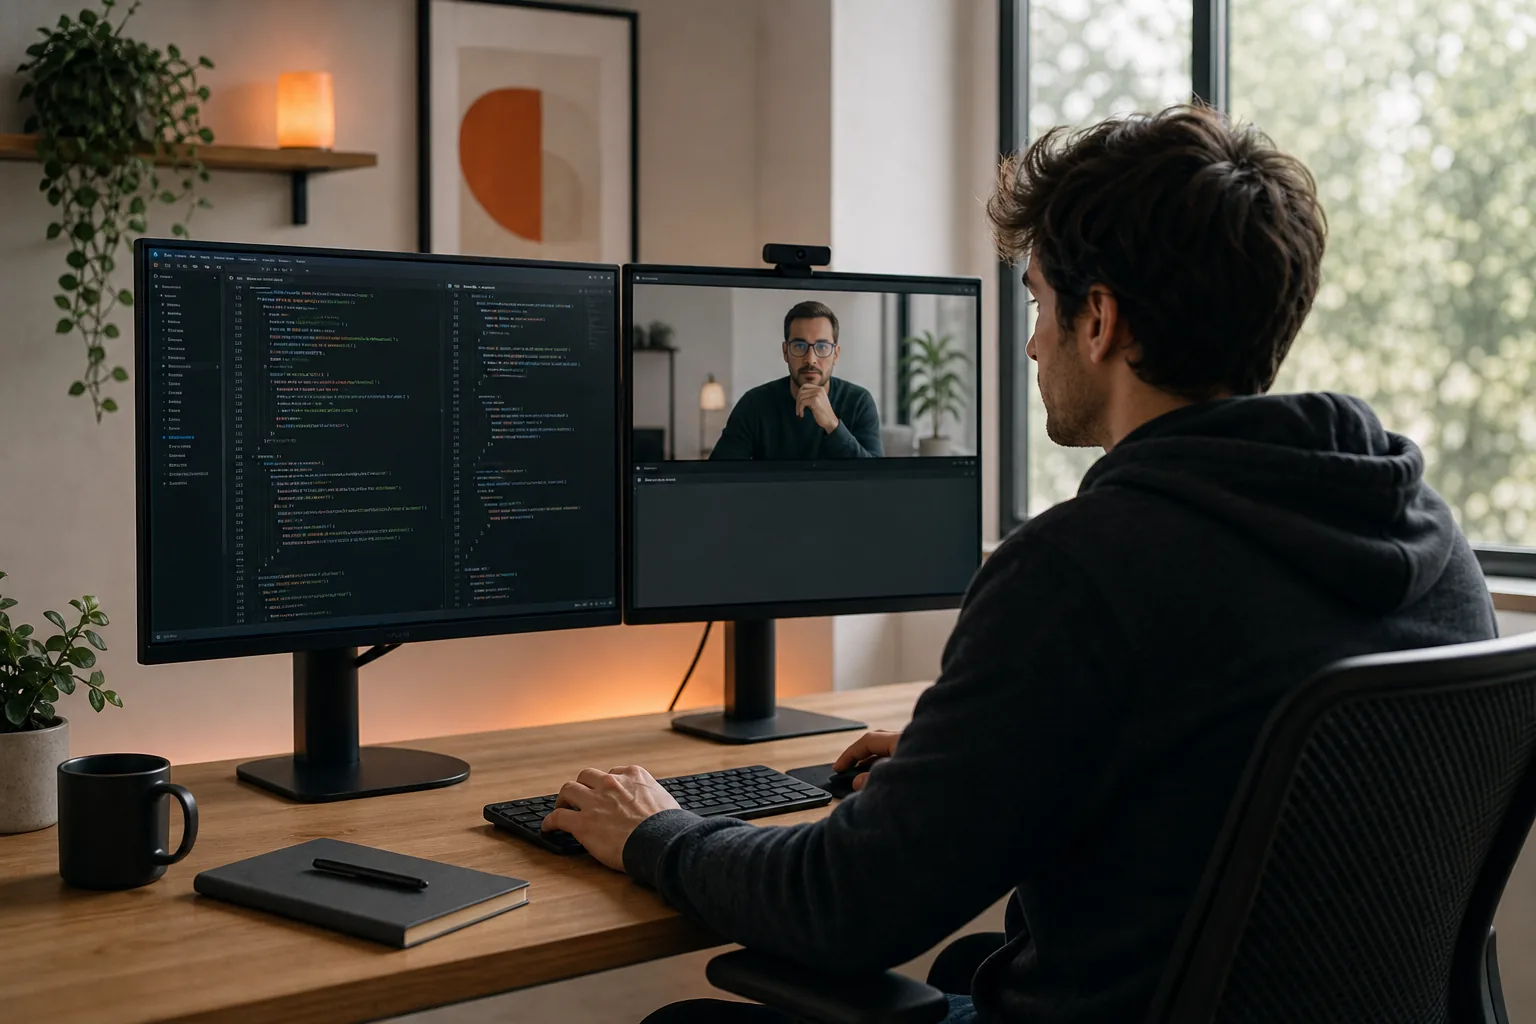
With one monitor, make the coding window large and keep the call controls within reach. Avoid stacking several floating windows over the editor. If you use a second monitor, place the call or permitted notes on one display and the shared editor on the other. Check which display is being shared before you begin.
Window sharing and full-display sharing have different privacy effects. A selected window usually limits what viewers see to that window, while a full-display share can expose other open windows on the same display. Follow the interviewer’s instructions, and share only what the exercise calls for. If a hidden overlay is not permitted, remove it from the interview setup rather than trying to conceal it.
Try the layout in Zoom, Microsoft Teams, or Google Meet if one of those is part of your practice. The meeting app may resize the shared window or place its own controls on top. Run a test call with a trusted practice partner, or use the app's preview, to see what the shared view contains.
Keep the visible workspace calm. Close unrelated tabs and apps. Turn off notifications for the session, and remove sensitive files from view. A clean desktop reduces distraction and lowers the chance that a private message appears during a screen share.
Move the overlay with the mouse before you set a shortcut to show or hide it. Confirm that the shortcut doesn't conflict with your IDE. If you use a tiling window manager, test how it handles floating windows before the mock begins.
Step 5: Run a Full Mock Interview and Prepare a Fallback
A quick launch test won't show how the setup feels over a full session. Run a mock with the same meeting app, editor, microphone, and screen-sharing mode you'll use later. Set a timer, solve one problem, and speak through your reasoning instead of silently typing.
Use a simple sequence. Restate the problem. Ask about missing constraints. Walk through a small example. Then explain a first approach before coding. While you work, say what your loop invariant means or why you chose a data structure. If a test fails, describe what you are checking instead of going quiet.
During the mock, test the overlay shortcut once when you need it, then return your attention to the interviewer and editor. Check whether the prompt was captured correctly and whether the response is useful for the task. For example, if a follow-up adds a memory limit, verify that the new guidance addresses it. Treat generated suggestions as material to assess, not answers to repeat without thought.
Phantom Code AI can be part of a mock workflow when assistance is allowed. Use the rehearsal to see whether audio or prompt capture fits your process, then practice explaining the solution yourself. If you plan to use any tool in a live interview, get clear permission first. The tool's features don't override the interview rules.
Write down what failed. If audio dropped, note which microphone was active. If the overlay covered a test result, change the layout. If the app slowed your machine, close unneeded programs and repeat the same mock to see whether the issue remains.
Prepare a fallback that doesn't depend on the overlay: keep the interview link handy, know how to rejoin, and be ready to continue with the editor and your own reasoning. If the app crashes or a permission prompt blocks you, close it and tell the interviewer what happened. Don't spend the interview trying to repair an optional tool.
Once you can complete the mock without stopping to fix the setup, save your final layout and shortcut. Keep the fallback simple enough to use under pressure.
FAQ
Can I use a desktop overlay during a live coding interview?
Only if the interviewer or assessment rules allow it. Ask the recruiter or interview coordinator when the policy isn't clear, and keep the answer in writing. A tool's privacy or stealth features don't make its use acceptable. If permission is uncertain, use the overlay for mock practice and close it for the scored interview.
How do I test whether my overlay works with Zoom or Teams?
Run a test call using the same app and sharing mode planned for the interview. Check what the other participant can see, then test your audio and overlay shortcut. Repeat the test after app or operating-system updates. Never assume that an overlay remains hidden from a screen share or recording.
What should I do if the overlay can't hear the interviewer?
Check which microphone and audio input the app is using, then review its operating-system or browser permissions. Record a short sample and listen back. If the tool still misses speech, use the meeting app without it and continue with your own notes. Don't troubleshoot optional software while the interview is underway.
Should I use one monitor or two for coding practice?
Either can work if you rehearse with the same layout you'll use in the session. With one monitor, keep the editor readable and avoid covering the prompt. With two, check which display is shared and keep private or unrelated windows off it. Follow the interviewer's instructions about screen sharing.
Conclusion
Set up the overlay for an authorized mock first, then test the full workflow with your real editor and meeting app. Your next step is simple: run one timed practice session, write down any setup failures, and keep a no-overlay fallback ready.