How to Simulate Whiteboard Interviews With a Desktop Prompter
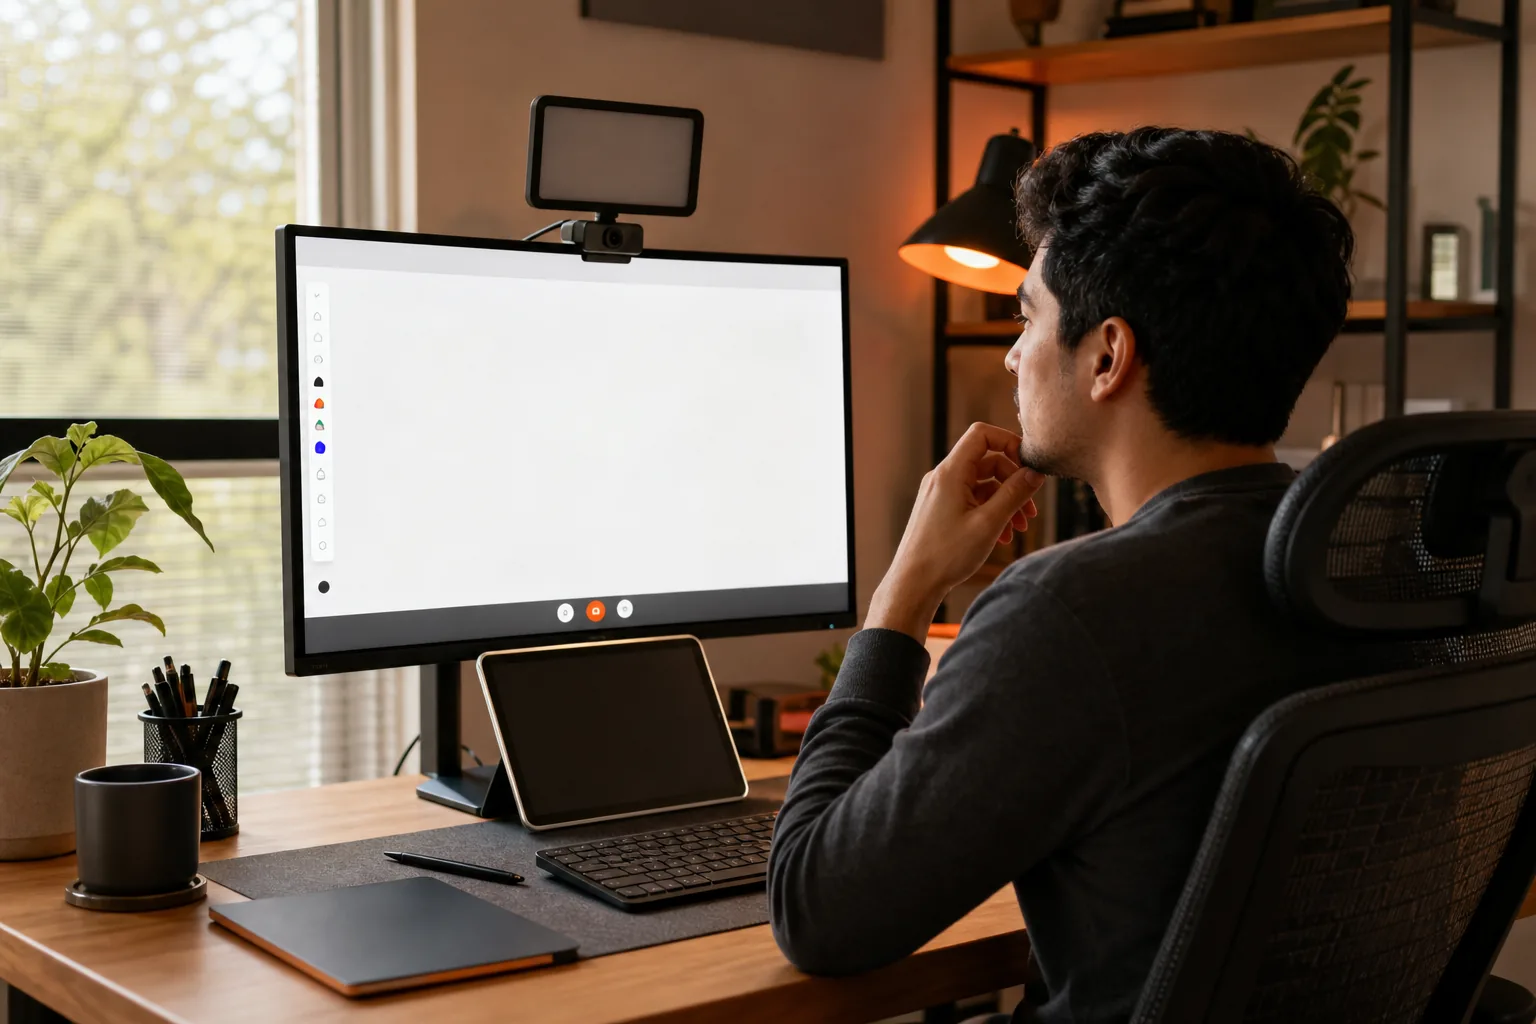
Learn how to simulate whiteboard interviews with a desktop prompter, set up your workspace, rehearse natural explanations, and plan for platform limits.
A desktop prompter can help you keep your thoughts in view during a whiteboard mock interview. The trick is to use it as a cue, not a script. Here’s how to simulate whiteboard interviews with a desktop prompter while keeping your eyes near the camera and your reasoning clear.
We analyzed the official help documentation of 5 technical interview platforms, HackerRank, Codility, HackerEarth FaceCode, CoderPad, and Talview, and found that 2 of the 5, HackerRank and Codility, enforce full-screen exits, multi-monitor detection, or tab-switch alerts that could expose a second-window prompter.
Table of Contents
- Step 1: Choose a Desktop Prompter and Whiteboard Setup
- Step 2: Write Prompts That Support Thinking, Not Reading
- Step 3: Position the Prompter, Camera, Lighting, and Audio
- Step 4: Sync the Prompts With a Digital Whiteboard
- Step 5: Tune Prompt Speed and Readability for Live Problem-Solving
- Step 6: Rehearse, Review, and Prepare for Platform Restrictions
- Frequently Asked Questions
- Conclusion
Step 1: Choose a Desktop Prompter and Whiteboard Setup
Start with the interview format you want to practice. A coding round needs space for a prompt, a working area, and a way to talk through your steps. A system design round needs more room for boxes and arrows. A behavioral round needs a short set of story cues rather than a digital board.
For a simple setup, keep the whiteboard or shared work area in the main window. Put your prompts in a small, adjustable window close to the webcam. A transparent-note app can work for short cues, while a basic text file can do the job when you’re practicing alone. You don’t need a special rig to start.
If you have a second monitor, put the board on the screen you’ll share and keep your cue notes on the other one. If you have one screen, use a separate desktop or place a narrow prompt window near the top of the screen. Test the share view first. Make sure the other person sees the board, not your private notes.
For a low-cost physical setup, use a phone or tablet near the webcam as a prompt display. Keep the text high on the screen so your eyes don’t drop toward your desk. A dedicated teleprompter rig may help with recorded practice, but it isn’t needed for a mock interview on a laptop.
Pick a whiteboard app or drawing surface that fits the exercise. A blank canvas is enough for a graph problem. For system design, use a board where you can move boxes and label connections. Keep your setup familiar. The point is to practice solving, not to learn a new interface while the timer runs.
Phantom Code AI is built for coding interview preparation, including mock sessions where you can practice explaining a problem while working through it. Use that kind of support to prepare and review your approach. Before a real interview, follow the employer’s rules about notes and assistance.
Milestone: You should now have one board you can share and one prompt view you can read without looking far from the camera.
Step 2: Write Prompts That Support Thinking, Not Reading
Write reminders, not a speech. A full script pulls your eyes away from the board and makes it harder to respond when the interviewer changes the problem. Short cues help you remember the next action while leaving room to think aloud.
For a coding problem, try a compact sequence such as:
- Clarify inputs and expected output.
- Check constraints and edge cases.
- State a simple approach before improving it.
- Walk through an example.
- Test the final logic.
These are prompts, not lines to recite. If the task is to find a pair of numbers that add to a target, a useful note might say “duplicates?” or “one pass with a map?” The note should bring the question back to mind. You still need to explain why the map works and what it costs.
For system design, build cues around decisions. Write “users and traffic,” “read/write needs,” or “failure case” rather than a paragraph about a made-up architecture. As you draw, add the parts that answer the question. If the interviewer asks about a new constraint, adapt the sketch instead of trying to return to a prepared speech.
For behavioral practice, use a few memory hooks for a story: the situation, your task, the action you took, and the result. Keep each hook short enough to scan in a glance. Rehearse the story in your own words, then change the follow-up question. That tells you whether you know the story or have memorized a fixed answer.
Put cues in the order you expect to use them. Leave blank space between sections, and use a larger font than you would for private reading. Remove any note that makes you read a complete sentence. If your eyes keep moving across the screen, cut the prompt down until it gives you one clear next step.
Do one test run without looking at the notes. If you can still explain the main approach, the prompts are doing their job. If you lose the thread as soon as you look away, rewrite them as questions that guide your thinking instead of supplying the answer.
Milestone: Your notes should fit in a quick glance and leave you free to explain the reasoning in your own words.
Step 3: Position the Prompter, Camera, Lighting, and Audio
Put the webcam as close as you can to the prompt text. A small eye movement looks more natural than a repeated glance down at the keyboard. The notes should sit just below or beside the lens, not at the bottom of the screen.
Adjust the font so you can read a cue without leaning forward. If you move farther back from the screen to reduce visible eye movement, make the text larger. Keep the prompt area compact. A huge transparent window can cover the board and make it harder to track your own drawing.
Set the camera near eye level. A stack of books or a stable stand can raise a laptop camera. Frame your head and shoulders with a little space above your head. Then check the result in the meeting preview. Look at the lens when you explain a decision, but look at the board when you need to inspect a detail. Natural eye contact doesn’t mean staring at the camera every second.
Face a window or a lamp so light reaches your face from the front. A bright window behind you can leave your face dark. Avoid placing a strong light source directly in your eyes. Take a short recording and watch it once; the preview may not make glare, shadows, or screen reflections obvious.
Audio matters because interviewers need to hear your reasoning as you draw. Use the same microphone you plan to use for the mock. Speak at your usual pace, then listen for words lost when you turn toward the board. If you use a headset, check that its mic doesn’t rub on clothing.
Do a quick room check before each session. Close noisy apps, silence alerts, and keep the board text large enough to read in a shared window. Keep a glass of water nearby if that helps you speak comfortably. Avoid changing several settings at once; make one adjustment, then record another short test.
Try a 30-second explanation while looking at the board, then repeat it while keeping the prompt near the lens. Compare both clips. Pick the placement that lets you speak clearly without making your gaze look fixed or strained.
Step 4: Sync the Prompts With a Digital Whiteboard
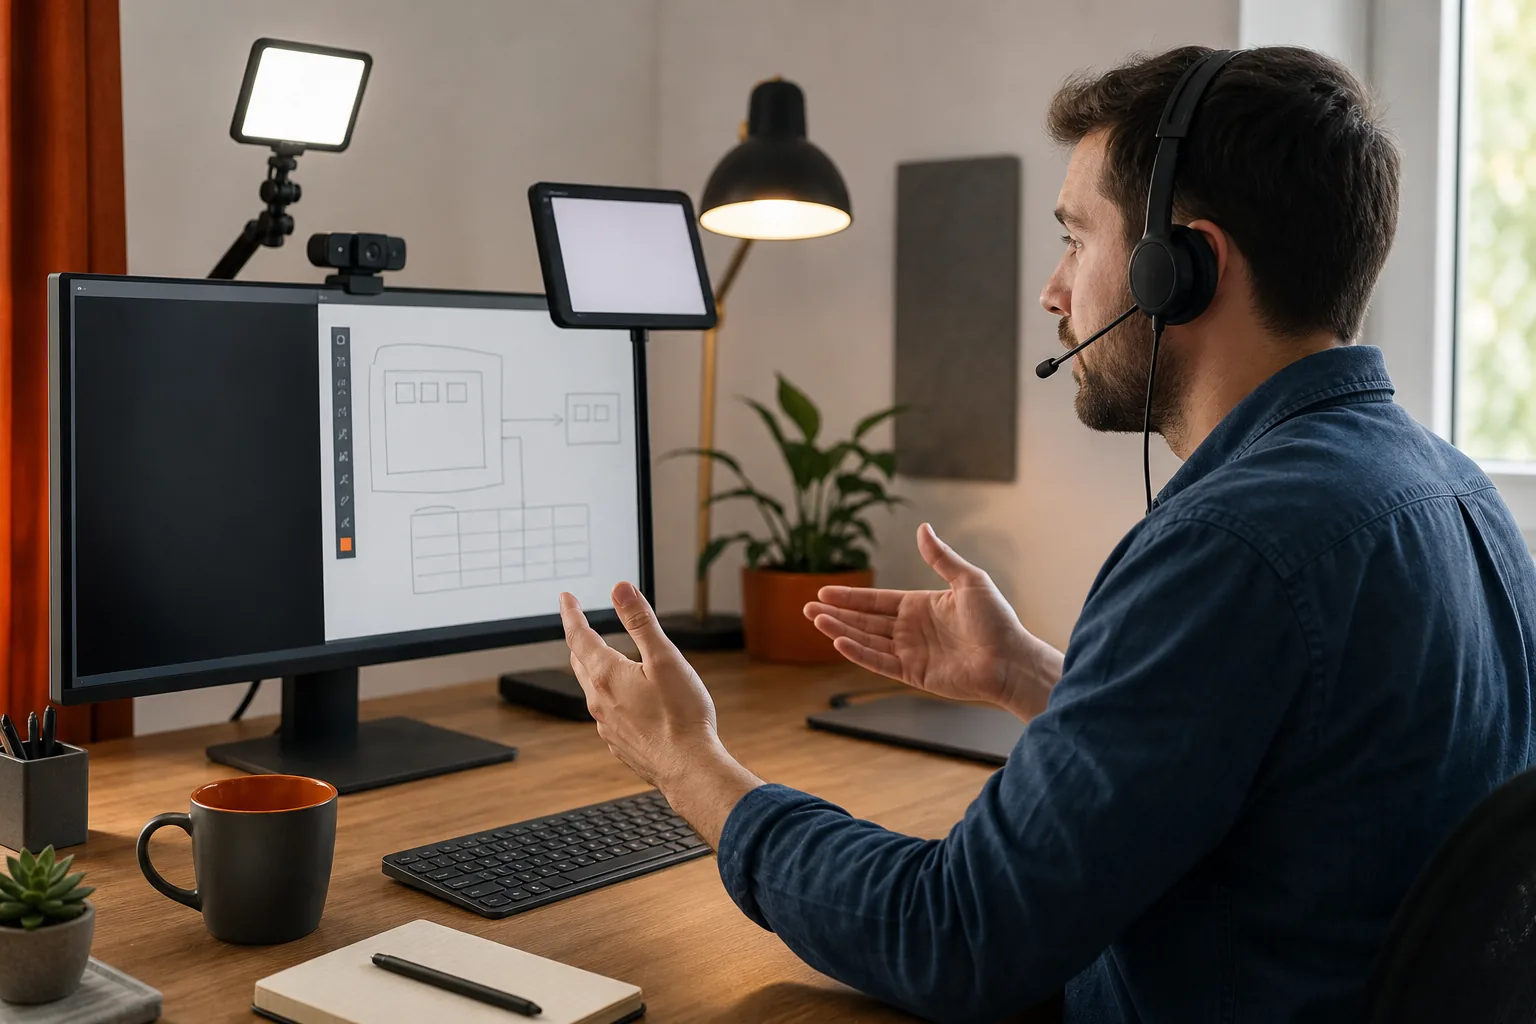
Keep the board as the main workspace and treat your prompts as a separate layer. This makes it easier to share the work area without exposing your notes. Before the session, check which screen or window your meeting app will share.
With two monitors, open the board on the shared display. Keep your prompts on the other monitor, placed near the camera if possible. With one monitor, test a window share rather than sharing the entire desktop. Some meeting setups show every open window when you share the full screen, so confirm what the other person can see.
Make a small practice problem and run the same steps you’ll use in the interview. Read the prompt, ask one clarifying question aloud, then start a blank board. Add only the information you need. For a graph task, you might draw a few nodes, label the edges, and trace how a search visits them. The prompt can remind you to state the stopping condition, but the board should show your actual reasoning.
Use a consistent visual code. For example, label the input on one side and the result on the other. Draw arrows only when direction matters. If you change a choice, cross out or revise the old part instead of quietly erasing the reasoning. That gives the mock partner something to follow and gives you a useful record of how you adapted.
Practice moving between the board and your spoken explanation. Say what you’re adding before you draw it: “I’ll track the node I’ve visited so I don’t process it twice.” Then draw the visited marker. This links your words to the visual record. It also helps you notice when the board has become cluttered.
Run one test with the exact sharing mode and window arrangement you plan to use. Ask a practice partner to confirm that the board is readable and that the notes remain private. If you’re rehearsing alone, record the shared screen and inspect the result afterward.
Milestone: You should be able to share the board, keep your cues out of view, and explain each new mark as you add it.
Step 5: Tune Prompt Speed and Readability for Live Problem-Solving
For interview practice, manual scrolling is often easier than a moving script. You can pause when a problem needs thought and move to the next cue only when you’re ready. If you do use auto-scroll, set it slowly enough that you can stop without losing your place.
Make the font large enough to read with a brief glance. Use short lines and clear gaps. A dense block of text forces your eyes to scan, which competes with the task in front of you. Put the next action near the top of the prompt area so you don’t need to search down the screen.
Use different cue speeds for different work. In a behavioral round, you may move through a story outline at a steady pace. In a coding round, pause after the prompt and let your own reasoning set the pace. In a system design round, don’t advance to the next cue until you’ve explained the current trade-off.
Try a timed drill. Give yourself a short reading period, then hide the full problem statement and work from the board. When you reach a decision point, pause and say what you know. For a two-pointer problem, you might state what each pointer means before moving either one. If you can’t explain the next step without reading it, your prompt is too detailed.
A whiteboard is useful as shared memory, making reasoning visible through visual traces. Apply that idea in a mock: write down the state that changes at each step, then point to it as you explain. For a sliding window, show the left and right bounds and note what makes the window valid.
Keep the board focused on the plan rather than exact code syntax. State the time or space cost when it helps explain your choice. If a test case breaks your first idea, mark what changed and revise the plan. That’s better practice than trying to protect a memorized answer.
Adjust one setting at a time. If you’re missing cues, increase the font or shorten the note. If you’re reading too much, remove words and use a single question as the cue. The right setup should let the board, not the prompt, carry most of the session.
Step 6: Rehearse, Review, and Prepare for Platform Restrictions
Run a full mock under the same conditions you expect to face. Use a timer, share the board, and keep the prompts in their planned position. Don’t stop each time you make a mistake. Finish the round, then review what happened.
Afterward, watch a short recording or ask your partner for feedback. Look for moments when your eyes dropped, your explanation stopped while you read, or your board got hard to follow. Choose one issue to fix in the next run. Trying to repair everything at once can make it hard to tell which change helped.
Rehearse without prompts, too. Start with the same problem and explain the approach from memory. You don’t need to recite an answer. You need to ask clear questions, make a plan, and respond when a new constraint changes the task. For related drills across interview formats, use the coding interview prep hub to shape your practice around the type of round you’re working on.
Some employers use interview platforms that limit screen sharing or block outside apps. Treat that as a platform constraint, not a puzzle to bypass. Read the interview instructions, test approved tools before the session, and ask the recruiter or interviewer what aids are allowed. Don’t try to hide notes or software during a real assessment.
Have a no-overlay plan ready. Practice from a printed outline or a blank page before the interview, then close the notes and work from memory if the platform restricts them. You can also keep a simple checklist beside the screen if the rules allow it. For a mock, ask your partner to switch off screen sharing halfway through. Continue talking through the problem without relying on the prompt window.
Phantom Code AI can support preparation through mock interview practice and real-time guidance, but the rules for a live assessment belong to the employer and platform. Use mock sessions to learn how you respond under pressure. In a real interview, use only the resources you’re allowed to use.
Milestone: You should be able to complete the mock with prompts, then repeat the core reasoning if the prompt window disappears.
Frequently Asked Questions
Can I use a teleprompter during a coding interview?
Use a teleprompter in practice, but use it during a real coding interview only if the employer permits it. Interview rules vary, and some platforms restrict outside tools or screen overlays. Ask what’s allowed before the interview. For mock sessions, short cues can help you rehearse a clear explanation without turning your answer into a read-aloud script.
How do I keep my eyes near the camera while reading notes?
Place a small prompt window just below or beside the webcam, then use large text with short cues. Keep the notes near the lens rather than at the bottom of the screen. Look at the camera when you explain a decision and at the board when you need to inspect your work. A natural gaze can move between both.
Should I use one monitor or two for whiteboard practice?
Either setup can work. With two monitors, share the display that shows the board and keep the prompts on the other screen. With one monitor, test a window-sharing mode and place the prompt near the webcam. In both cases, check the shared view before the mock so you know what the other person can see.
What should I put in my whiteboard interview prompts?
Use brief reminders that guide your next action. For coding, cues can remind you to clarify inputs, check edge cases, explain an approach, and test it. For system design, use questions about requirements or trade-offs. For behavioral practice, use a few story memory hooks. Avoid full paragraphs that make you read instead of think.
What if the interview platform blocks my overlay?
Prepare to practice without it. Check the platform instructions and ask the recruiter which tools are allowed. For a mock, close the prompt window and continue from memory. For a real interview, don’t try to work around a restriction. A no-overlay rehearsal helps you rely on your own plan and explain your reasoning clearly.
Conclusion
Build a simple setup, keep prompts short, and rehearse with the exact board and sharing mode you plan to use. Treat a desktop prompter as a practice aid, not a substitute for your own reasoning. Set up one timed mock this week, record it if your partner agrees, and fix the biggest distraction you notice.